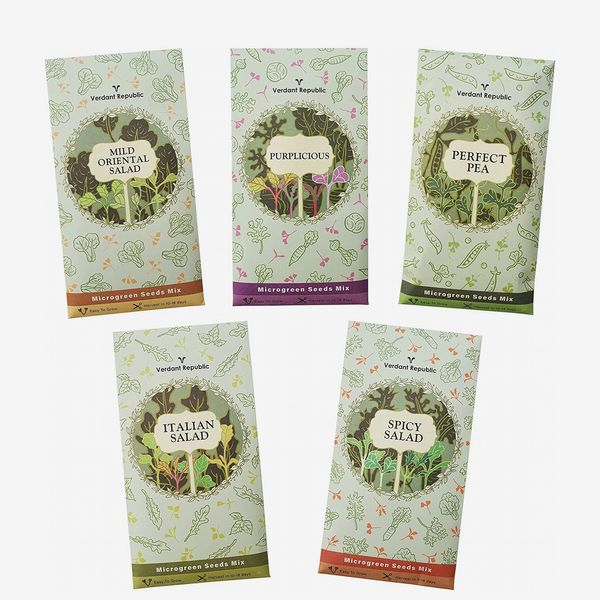
Spring is just around the corner and so begins what I call the ‘Annual Festival of Seed-Sowing’, whereby it’s almost impossible to visit a garden centre, DIY store, supermarket, or online purveyor of all things plants without sneaking in a couple of packets of ornamentals or edibles. I’m generally guilty of stashing my basket with armfuls of both. Due to last year’s outdoor growing season being a bit of a washout, with the unpredictable raised-bed-trashing antics of a tribe of foxes and general pandemic-induced uncertainty fatigue, this year I’ve decided to concentrate my efforts on nurturing edibles and herbs inside — or at least in manageable and moveable pots under the veranda. That way I can keep a closer eye on my produce, plus all that tasty goodness will be closer at hand for cooking up a feast.
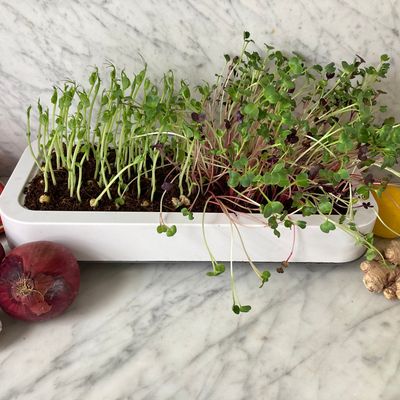
Top of the potted edibles are microgreens, which are super-easy to cultivate (great for growing with kids), packed with antioxidants and nutrients, delicious in salads or as a garnish, and possible to grow all year round, even in the smallest spaces. You may know them as tiny leaves (technically these consist of the cotyledon seedlings and first true leaves) of arugula/rocket, basil, beets, or kale, first made popular on chef menus in San Francisco in the 1990s, but there are lots of other vegetable or herb microgreens to try: red-stem radish for adding heat to egg dishes or sandwiches; coriander to sprinkle on curries, noodles, or stir-fries; mild spinach for mixing into salads; mustard for a little fire; fennel for a sweet, aniseed hit; or purple basil for colour and flavour. Just avoid the toxic leaves of plants from the nightshade family such as tomatoes, potatoes, and peppers.
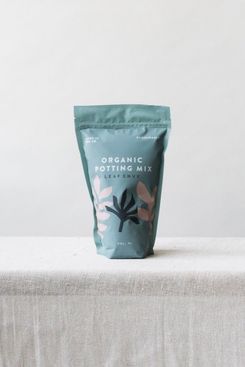
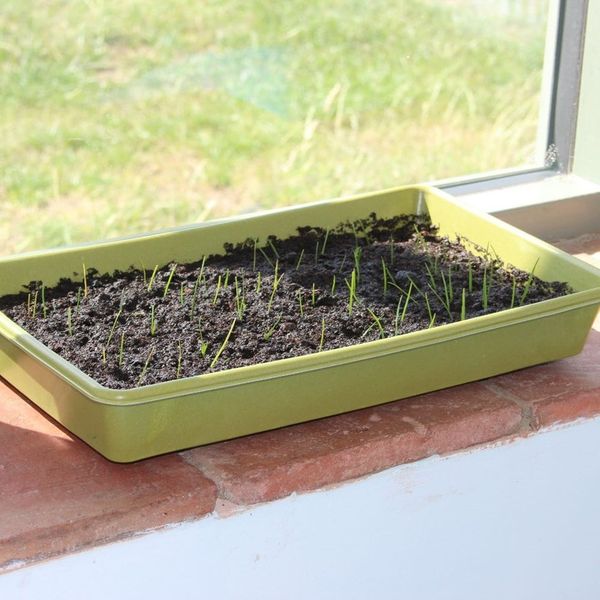
To grow your microgreens, simply fill a shallow pot, seedling tray, or repurposed fruit punnet with around 2.5 to 5 cm (1 to 2 inches) of peat-free organic potting soil (this is important as it provides vital, food-safe nutrients and avoids disease). Smooth over and scatter the seeds so that they are around 0.5 cm (1/4 inch) apart, and cover with about 0.25 cm (1/8 inch) of soil.
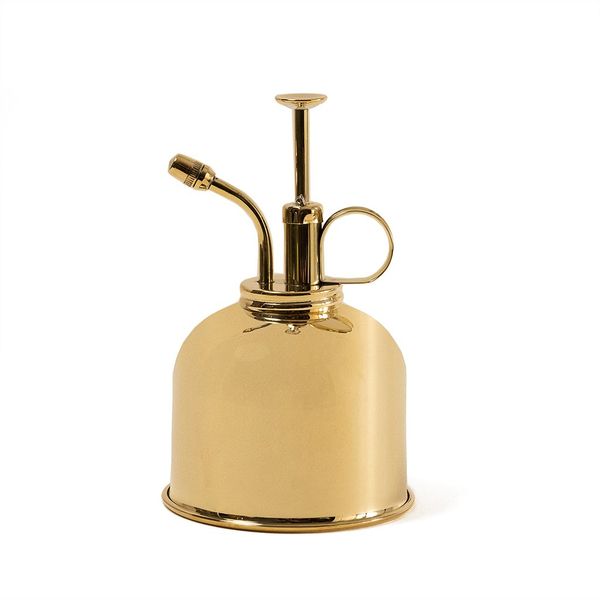
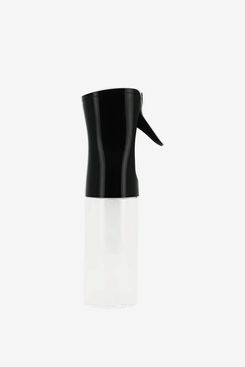
Keep the soil just moist (water from below if you have drainage holes/using a mister if not) and you should have your first batch of microgreens around ten to 14 days after planting. To eat, simply snip the leaves off just above soil level and serve as you wish — I love adding them to smoothies and juices to help boost our family five-a-day. For successive harvests, simply scatter a new batch of seeds on top of the used soil, leaving the old roots in as organic matter.
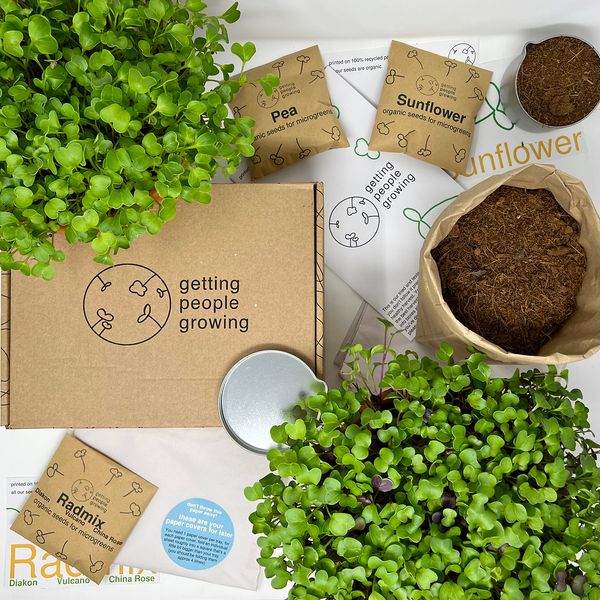
To make matters even easier, there are some great microgreen starter kits on the market, such as the sustainably sourced and retro-styled Organic Microkit from Getting People Growing (including two terracotta planting trays, ten packets of organic seeds, and ten portions of organic growing mix).
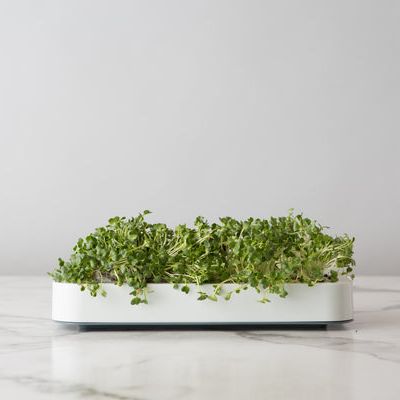
If you’d like something a little fancier, The Chef’n Microgreen Grower is a good-looking, minimalist countertop option.
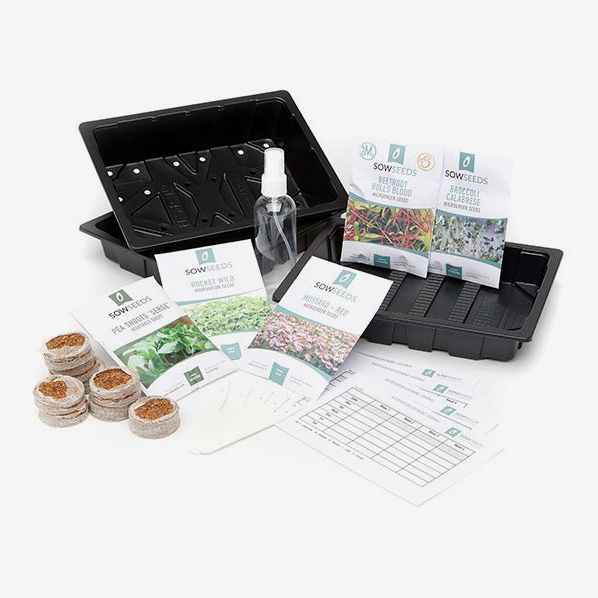
Or for a basic intro, try the Microgreens Starter Kit from Sow Seeds (including reusable seed trays and five packets of seeds).
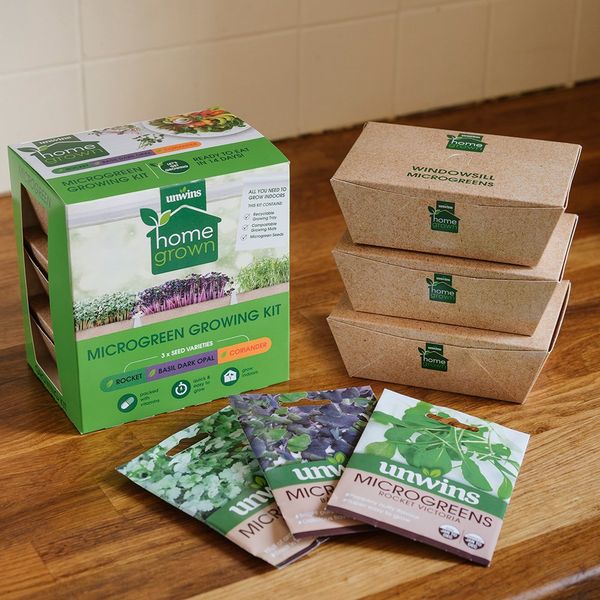
Or the Unwins Windowsill Micro Growing Kit, which uses compostable growing mats to encourage germination.
The Strategist UK is designed to surface the most useful, expert recommendations for things to buy across the vast e-commerce landscape. Read about who we are and what we do here. Our editors update links when possible, but note that deals can expire and all prices are subject to change.
